

Assignment 1: HTML Markup
Recipe Text
Find a recipe for a simple dish or beverage (max around 100 words). The recipe should include:
- – Title
- – Cooking time
- – List of ingredients
- – Directions
- – A footnote (such as origin of the recipe, for example)
All text should be digital which means you either copy it from a website or you type it. The text should be free of all formatting previously applied to it (such as bullet points for list etc.). We won’t use images for this assignment.
Write the HTML markup/code
Writing this will help you get more familiar with HTML tags. Keep in mind that line breaks and text indents/tabs within the markup have no effect on the result rendered in a browser.
Because code is VERY sensitive, double or triple check if the opening and closing tags are correct. Be very careful with those. One missing ">" or misspelled tag will likely break the layout.
Text
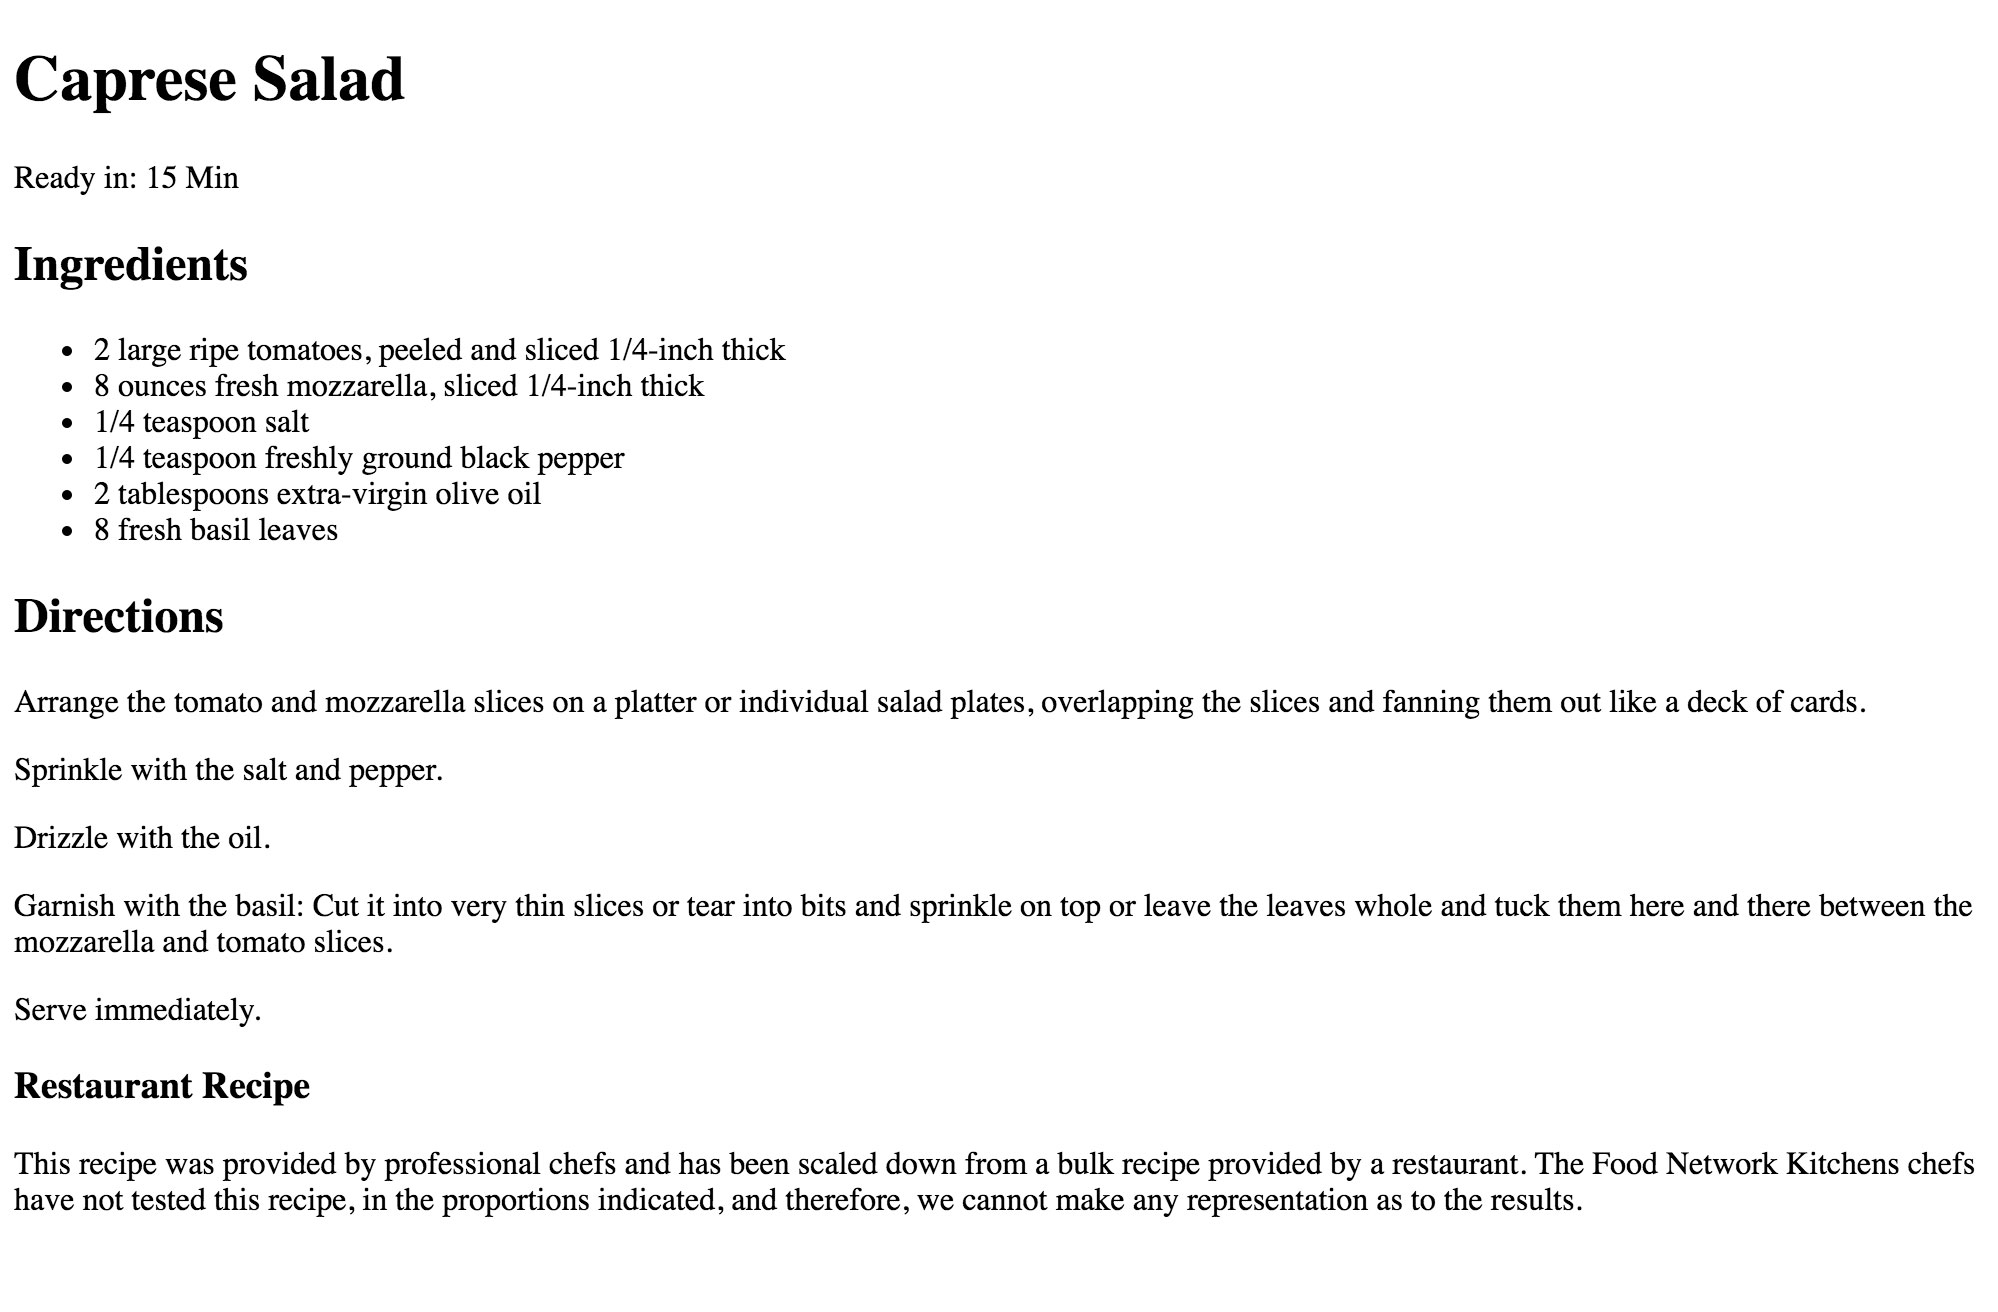
Add the recipe text between the body tags. It helps to create spaces between the pieces of information although those spaces won't be visible when you view the HTML in a browser. You need tags to define the information. The image below the markup shows the result in the browser (no text formatting whatsoever).
HTML code: result in browser:

Tags
Add the tags. Wrap the pieces of information inside the appropriate tags. By doing that you're giving the markup meaning and structure. A recipe text has information that can be defined with a few very typical HTML tags such as headlines and sub heads, paragraphs and a list with so called list items.
The browser will apply it's default styles to those tags. So when you view the saved HTML in a browser the recipe has a visual structure already. We'll be getting rid off those browser defaults later in order not mix up our own styles with the browser default styles.
For this assignment we'll be using the following tags to identify the pieces of information:
HTML code:<h2> </h2>
<h3> </h3>
<p> </p>
<ul> </ul>
<li> </li>
<span class="example"> </span>
<div id="example"> </div>
"h1", "h2" and "h3" tags are used to identify the hierarchy of headlines. The "p" tag should be used to wrap paragraphs of text. The "ul" tag defines a list in which the list items ( "li" tags) are nested. The "span" tag is often used to target specific information inside other elements (make one word inside a paragraph bigger, for example). The "div" tag is used to divide the layout into seqments.
HTML code: result in browser:
Adding additional tags for more layout control (DIV tags)
The following example adds so called "div" tags around combined pieces of content. For example around the Ingredients headline and the list. Those div tags have no immediate effect on the rendered layout in a browser. You don't have to use them but you'll get additional CSS styling and placement options if they're in there. Those divs have no affect on the result in the browser without CSS styles. So adding them won't initially change the layout.
HTML code:
COMMENTING TAGS
Text inside comment tags (gray text in the example above) won't be visible in a browser. They help to organize and identify/label "pieces" in the HTML markup. In the example above they help to connect opening tags with closing tags.
Add the HTML to your site files
Name the HTML "recipe-a.html" into your "recipe-a" folder (inside your "lastname-1_1" folder). Since the HTML markup won't change much you can already copy this HTML file into the other recipe folders. You can already duplicate it. Then name it "recipe-b.html", "recipe-c.html", etc. and put them into their appropriate folders.

Reading
Please download and read the HTML basics excerpt from the book "HTML & CSS – design and build websites".